Overlay
Description
The HTML to overlay the Ink Editor part. This can include buttons to select tools and navigate.
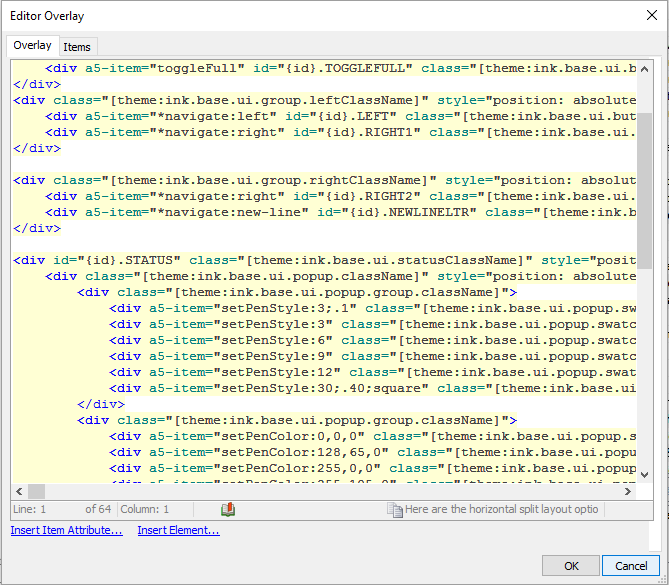
You can click the  button next to the Overlay property to open the editor overlay dialog.
Initially this dialog is blank (as is the editor). You can either add HTML to the overlay on your own to
create a more complex editor or, alternatively, you can use the genie.
button next to the Overlay property to open the editor overlay dialog.
Initially this dialog is blank (as is the editor). You can either add HTML to the overlay on your own to
create a more complex editor or, alternatively, you can use the genie.
Using the Genie to add HTML to an Overlay
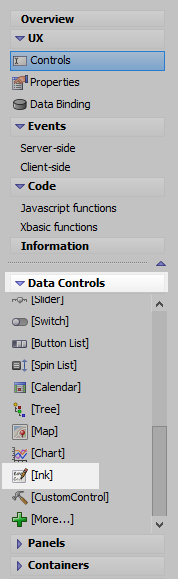
On the UX Controls page in the Data Controls menu, click on [Ink] to add an Ink Control to the component.
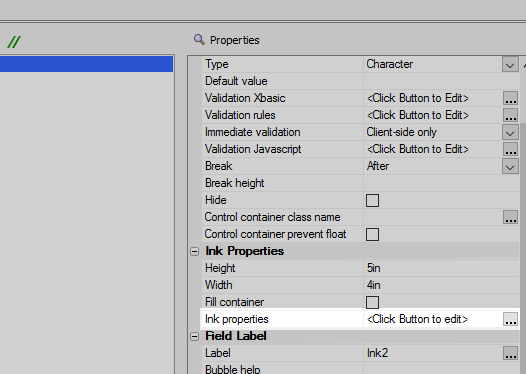
Open the Ink Control dialog by clicking on the Ink properties property.
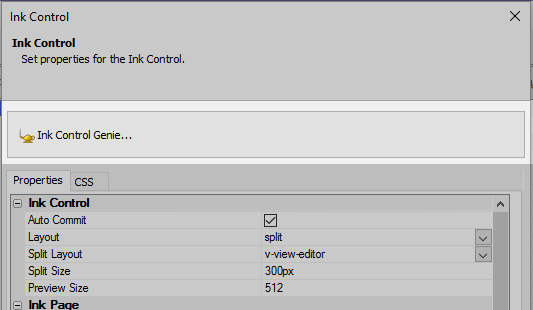
Click on the 'Ink Control Genie' at the top of the Ink Control dialog.
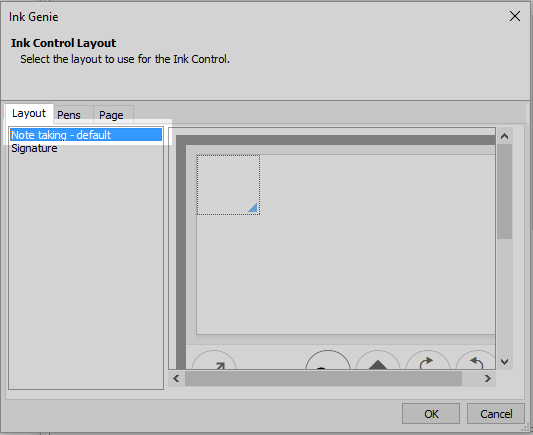
In the Layout tab select the Note taking - default option.
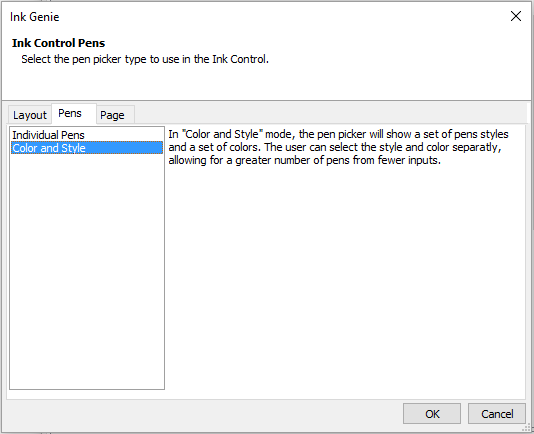
Click on the Pens tab. Select the Color and Style option.
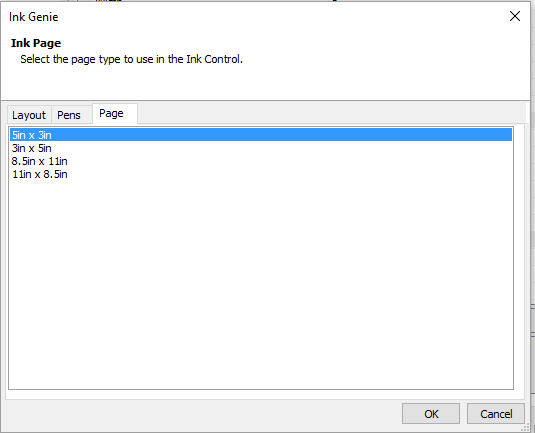
Open the Page tab. Leave the page set at 5in by 3in and click OK.
Go to the Ink Editor section of the Ink Control dialog and click the
button next to the
'Overlay' property. 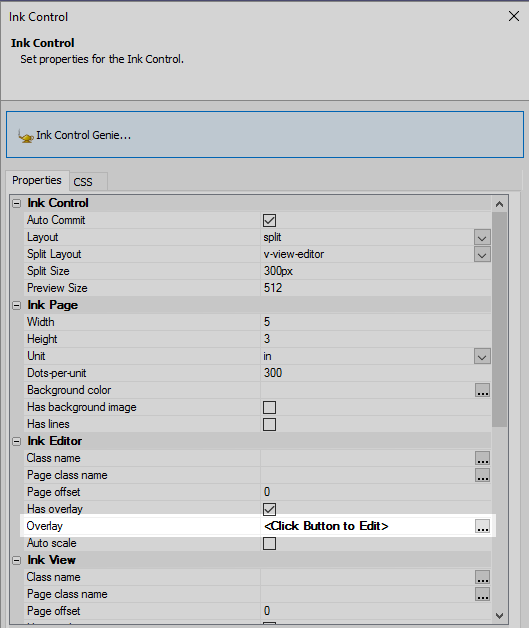
You should see that the HTML generated by the genie has been inserted into the Overlay property as a series of <div></div> tags.
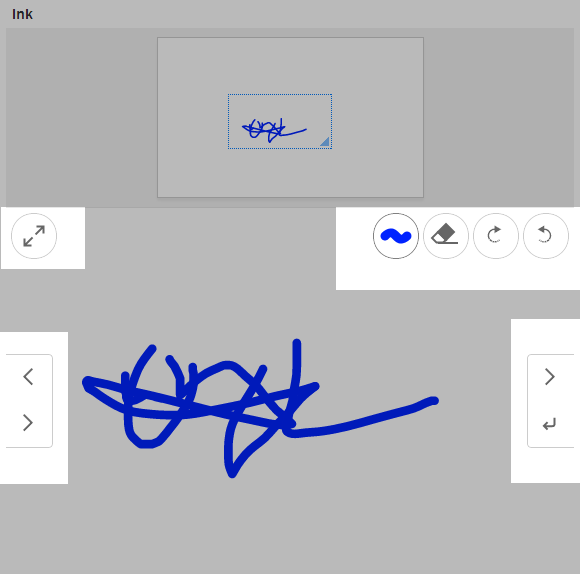
Run the component in Live Preview. You should see an overlay on the editor that will give you access to new tools and pens, etc..
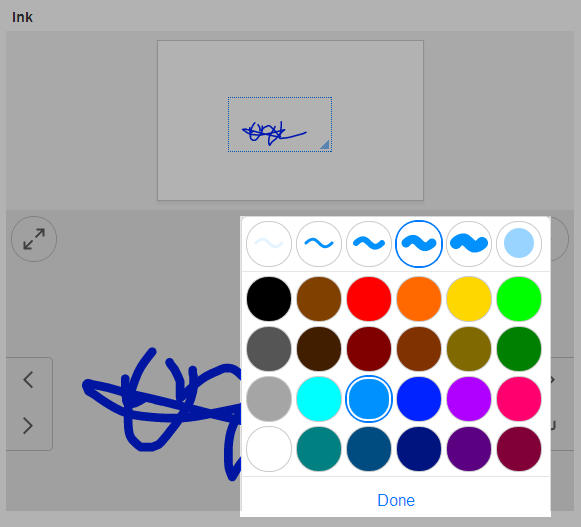
You should be able to select different pens as well: